Josh’s Stainless Steel All-Road Bike

Accidental line flow between the seat stays and the B-knuckle of the derailleur.
When Josh first approached me to build a frame for him, he was fairly open in terms of design. He wanted a frame that matched his bike fit - naturally, some bling, and maybe “a lug or two.”
Back in the days before TIG welding and carbon fiber layup took over, frames were brazed together with lugs - steel sleeves that slipped over the tubes and reinforced the joints. Josh has an obsession with these kinds of classic steel frames, so I wanted to scratch that itch as much as possible.
Unfortunately lugged construction is much less prevalent these days, and lug selection is fairly limited. What’s more, the lugs still available for purchase lock you into a somewhat dated geometry and component set without heavy modification. Besides, after TIG welding hundreds frames I’d much rather weld a frame together than braze it.
Since we were doing a welded frame I suggested a KVA MS3 stainless steel tubeset to add a little more bling and lose some weight. A coat of paint is relatively heavy on a bicycle frame, and tends to hide the detail work. I’ve built a couple stainless frames for myself, and I’ve been very pleased with the results. It’s great to be able to buff out a scratch that would “ruin” and painted finish. Besides, it rains here in the PNW, and rust will come for all steel frames eventually - I wanted this to be a forever bike.
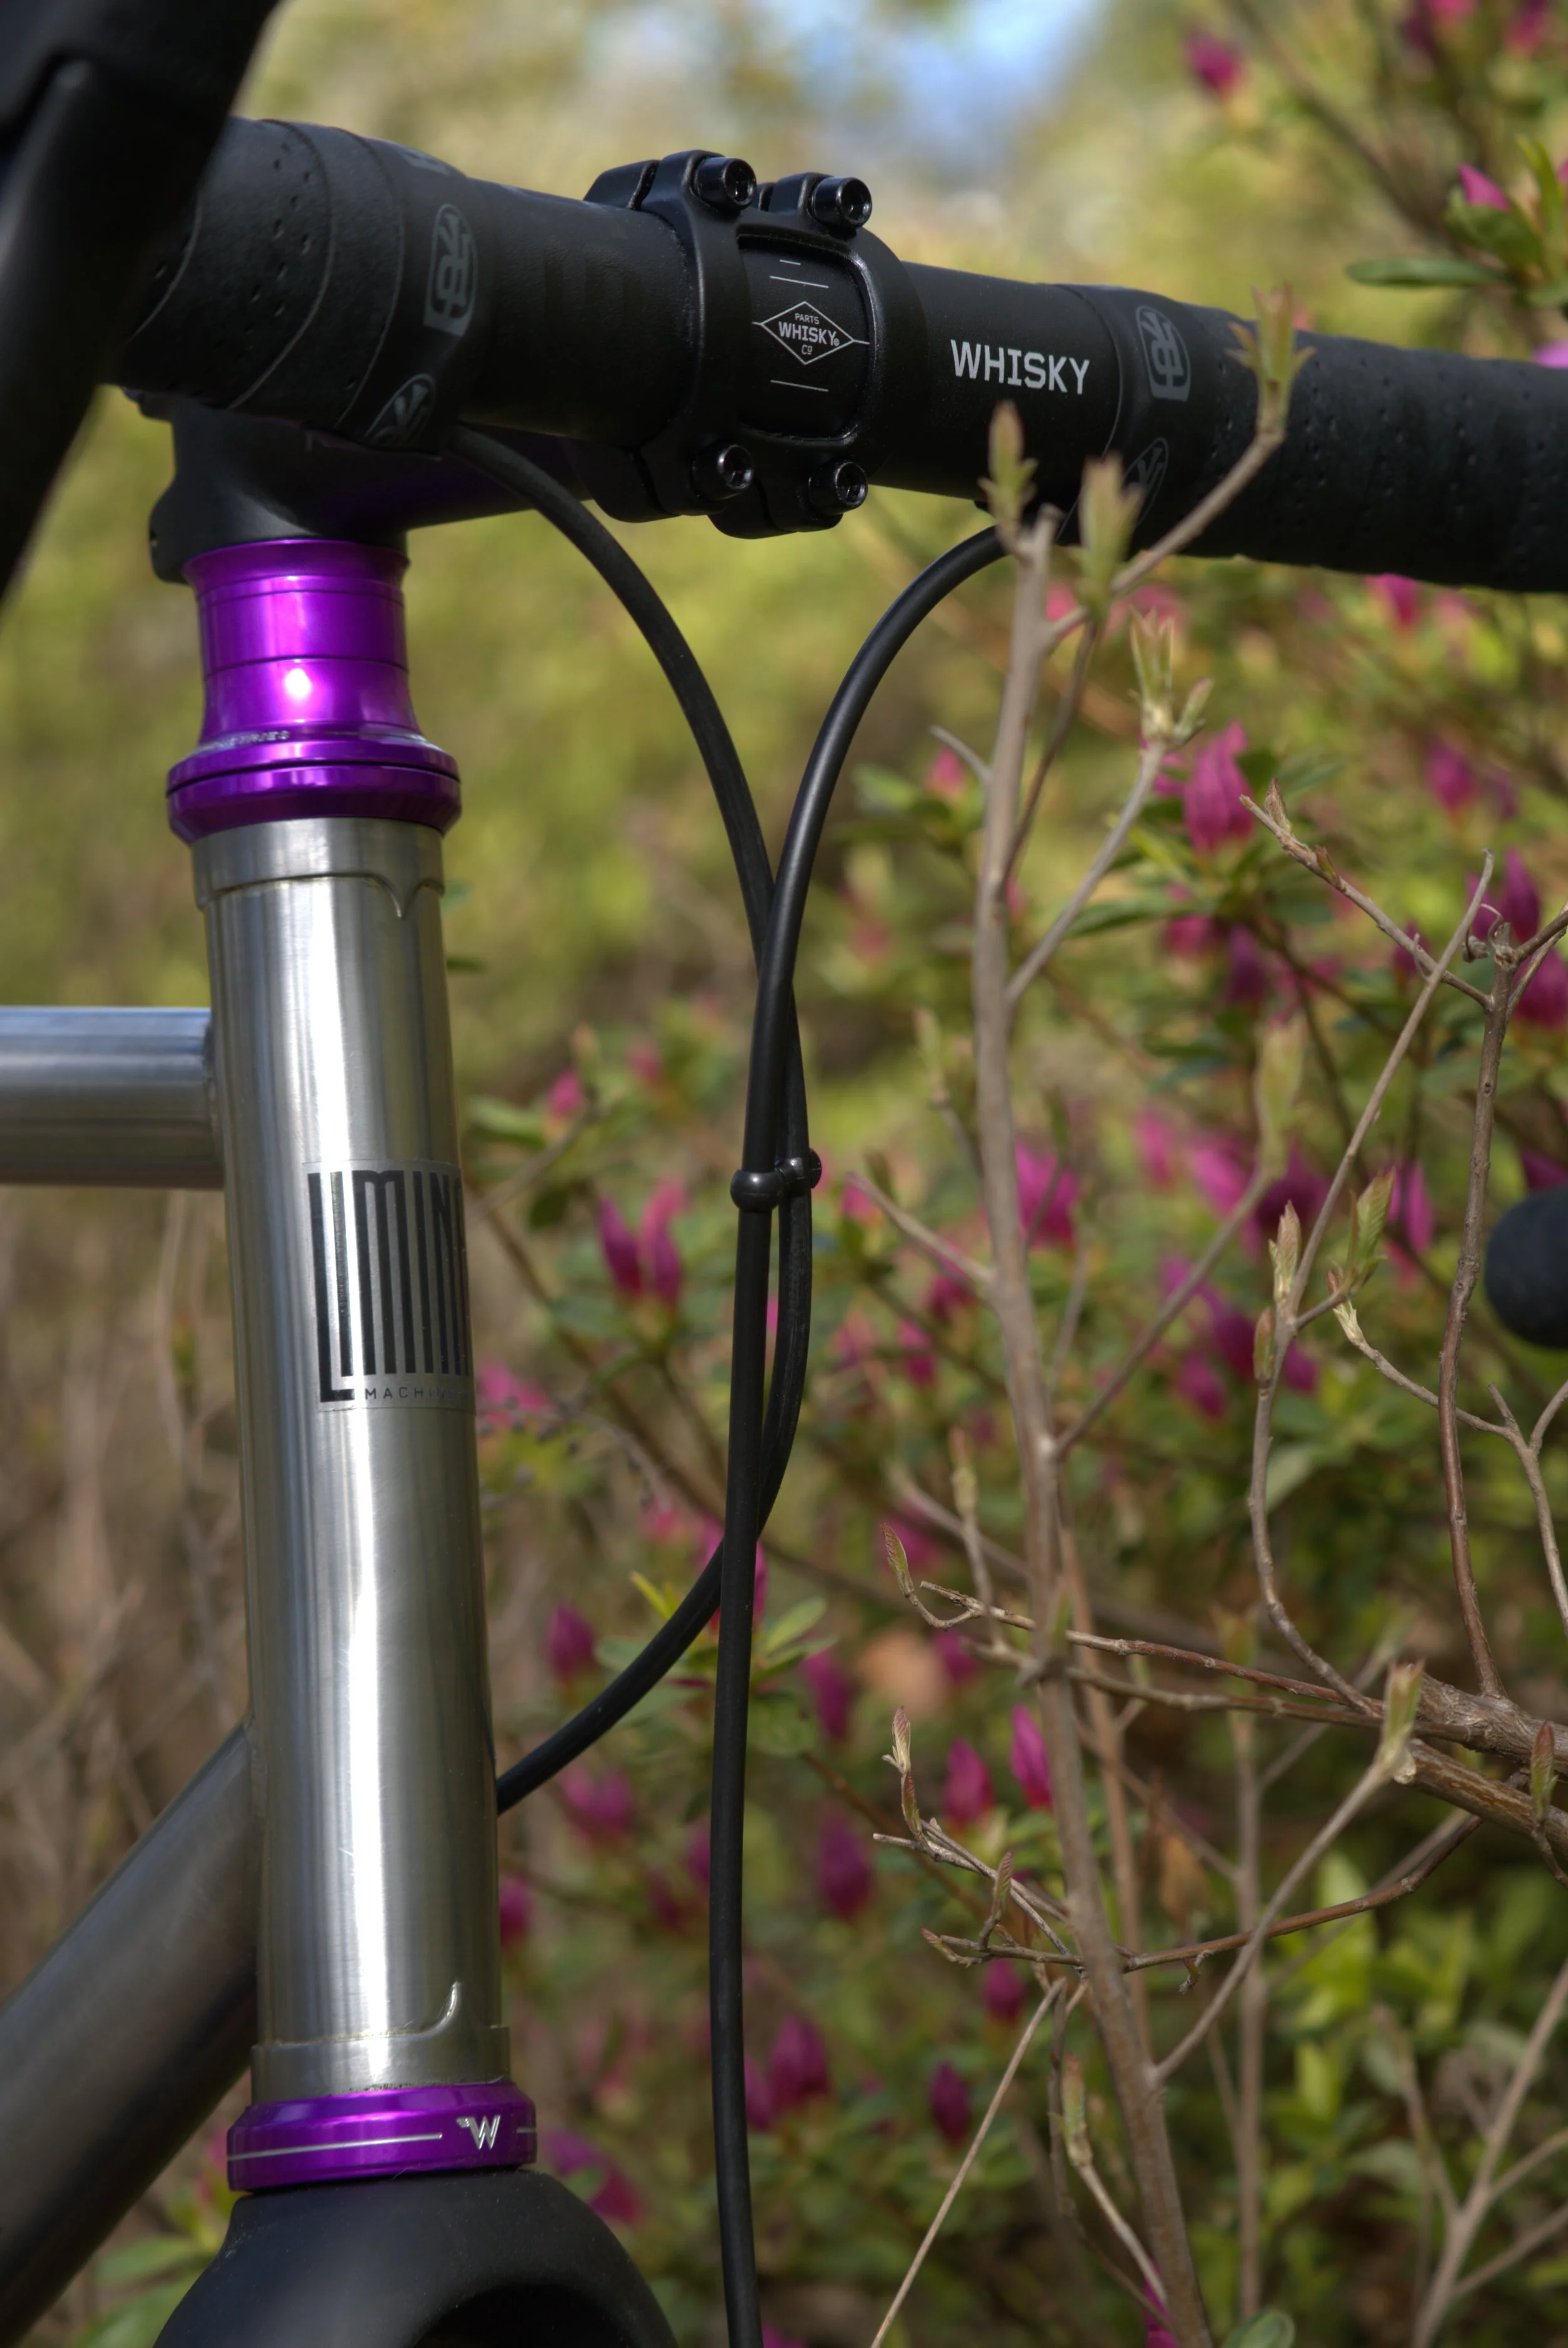
Old meets new at the front of the bike. Josh will be getting a metal headbadge soon…
Josh’s bike fit has a fairly short reach compared to the stack, so that classic level top tube wasn’t possible without a huge spacer stack, a no-no with a carbon fork and ugly too. A welded construction allowed me to put a slight angle on the top tube, still much less than mass-produced bikes that have to maximize standover clearance to fit a wider range of riders.
A classic 36mm head tube was a must for this build. Not only did it match that old-school skinny steel tubeset aesthetic but it gives the front end some welcome flex compared to an oversized head tube with a tapered carbon fork. I was also able to incorporate a couple of brazed head tube reinforcement rings to the head tube with those classic lug points.
What started as a hurdle turned into an opportunity to incorporate more “lugs” into the frame. SRAM’s Universal Derailleur Hanger (UDH) scheme has finally reached critical mass, so I’m happy to use them on my frames, especially since it means I won’t have to make derailleur hangers for the rest of my life. While UDH has many advantages over a traditional hanger, it was designed with carbon mountain bikes in mind and doesn’t initially lend itself to a sleek steel frame.
I presented several CNC dropout designs to Josh incorporating UDH but we agreed none of them were really in keeping with the overall aesthetic. There’s just too much real estate taken up by the inside of the hanger to make a small-ish hooded dropout for welding. We considered a larger plate style dropout with cutouts but I felt it would be too busy, not to mention heavy and flexy ATMO.
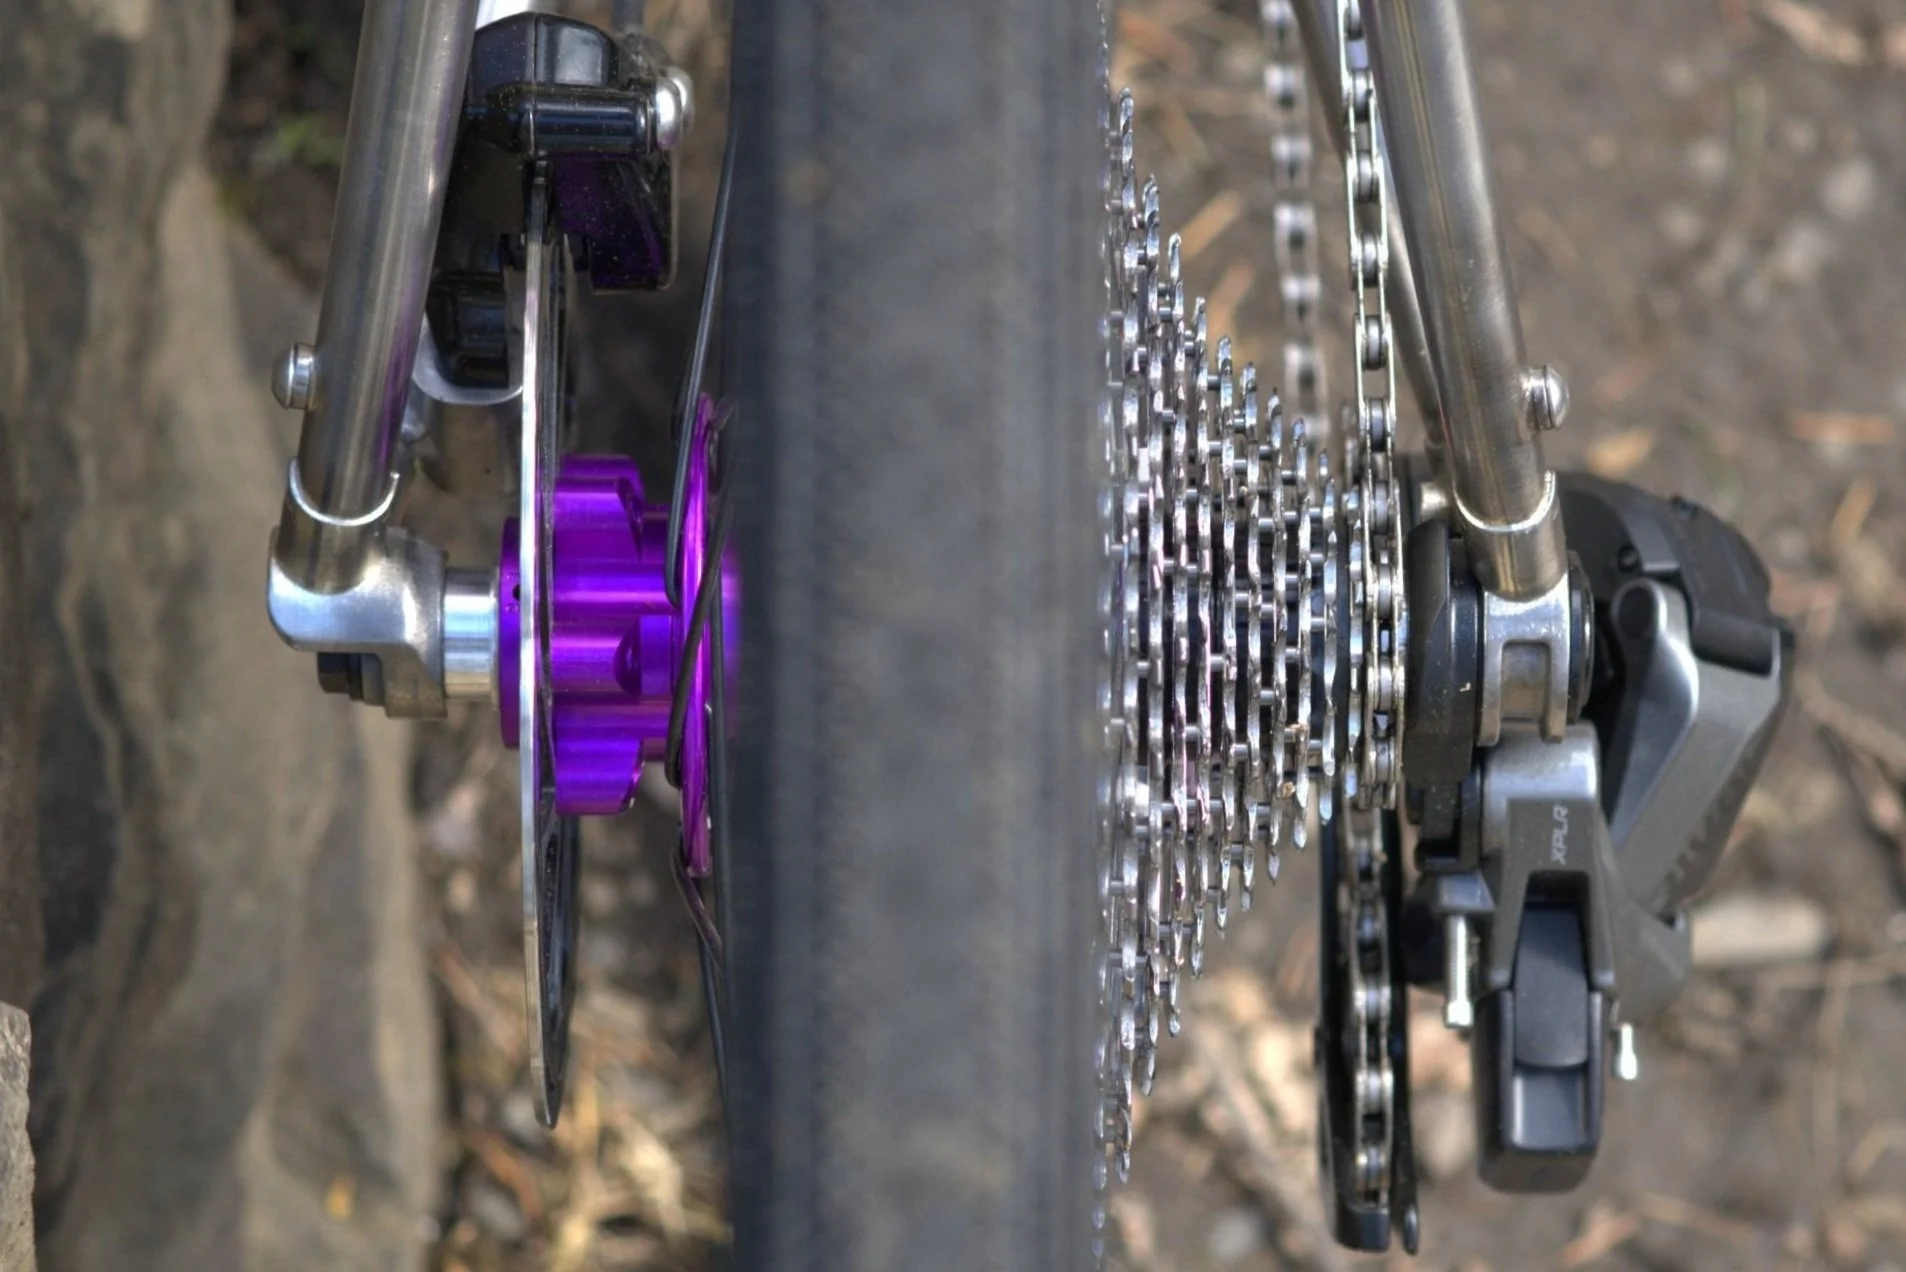
Stays and wheel gripped lovingly and securely.

The nub on the lower lug indexes the UDH and serves as a port to view how far the silver has penetrated - no blind brazing here.
3d printing for bicycles has exploded in recent years, and I’d always wanted to try incorporating some printed parts into a frame. Coming from a subtractive manufacturing background it was challenging to unlearn my habits and embrace additive manufacturing, but it turned out to be just right for this project.
I ended up designing a pair of socket style dropouts to get more of that lug look. Socket drops were a mark of a quality frame back in the day as they required better rear end alignment than the more popular semi-horizontal style.
This design, coupled with a sleeved braze joint, allowed me to bring the stays almost all the way to the axle. This makes the rear end much stiffer and avoids the awkward shelf you would have to use if the stays were being welded to the dropout. I was also able to incorporate venting holes behind each stay that I could use to introduce an internal argon purge (necessary for TIG’d stainless) and make sure the silver brazing filler had penetrated throughout the joint.

The question “How much purple is too much purple” came up a few times.
I usually try and talk people out of internal cable routing as a service to my fellow mechanics, but it just made sense on a sleek frame like this. With wireless SRAM AXS shifting there was only one brake hose routed to the rear of the bike. By using a wide format T47 BB shell I was able to route that brake hose completely internal to the frame except for where it enters at the downtube/head tube joint and exits at the caliper on the chainstay. Another advantage to an unpainted stainless frame is that we can easily add traditional cable guides or more ports if we need to.
A T47 BB shell also made it relatively easy to fit the tire and chainrings into the same space, which is always one of the toughest parts of frame design. I always try to match the stated tire clearance of the fork, 40mm in this case, and the tallest gearing the client might run. Josh likes the simplicity of the 1x setup with a 42t ring but the White Industries cranks can easily be adapted to a 2x system with a 50/34t combo, which the frame will clear easily.

No dimples, no yokes, just a clean tube. Admittedly easier on a “road” bike.
Wheel design follows frame design closely in my eyes. A set of sub-par wheels can make even a high-end frame that fits perfectly ride like crap. I’ve built over a thousand wheels over the course of my career, and many used the Astral rims made right here in Eugene. I suggested them to Josh based on my first-hand knowledge of their consistent quality, and because I knew they offered their versatile Outback rim in a polished finish that would compliment the frame.

These rims have a finish that’s difficult to capture for am amateur photographer, they have to be seen in person to get the full effect.
I laced the rims to a set of top-shelf White Industries XMR hubs. The large flanges with cutouts on the hub contribute to that classic look and provide additional lateral stiffness to the wheel. The wheels are both 28-hole with double-butted spokes laced three cross for a balance of light weight and dependability. The spoke nipples are purple too, naturally.
Taken as a whole I’m really happy with how this build turned out, and Josh is too, which is the important part. It’s not the kind of bike I would build for myself, but that’s why I started this whole thing, to get to collaborate with my clients and build something different every time that is unique to them.

Big thanks to Hendricks Park for being in bloom with complimentary colors.